Why You’ll Love This Recipe
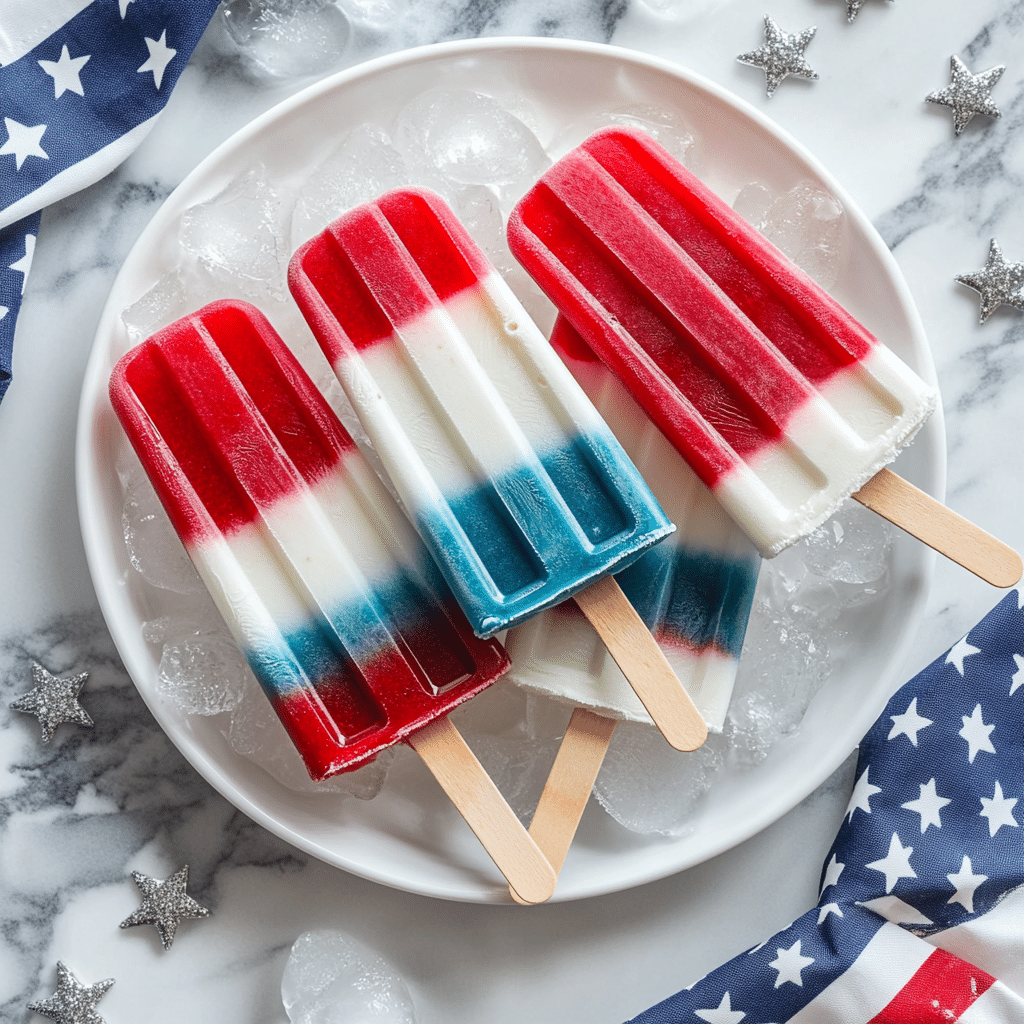
Homemade Bomb Pops bring the nostalgic joy of red, white, and blue popsicles right to your kitchen, perfect for summer celebrations and patriotic holidays. Made with real fruit juices and yogurt, these frozen treats are not only vibrant and refreshing but also customizable and free from artificial ingredients. Kids and adults alike will love the layered flavor and fun colors.
ingredients

(Tip: You’ll find the full list of ingredients and measurements in the recipe card below.)
cherry juice or fruit punchvanilla yogurtlemonade or coconut milkblue sports drink or blueberry juicehoney (optional for added sweetness)
directions
Prepare your popsicle molds and sticks. Make sure there’s enough space in your freezer for them to stand upright.
Start with the red layer. Pour cherry juice into each mold, filling about one-third of the way. Freeze for 45–60 minutes until just set.
Once the red layer is semi-frozen, add the white layer by spooning in vanilla yogurt or pouring in lemonade/coconut milk. Fill another third. Insert sticks at this stage if desired. Freeze for another 45–60 minutes.
For the final layer, pour in the blue juice or sports drink to fill the molds. Freeze for at least 4 hours or until completely solid.
To release the pops, run the molds under warm water for a few seconds and gently pull them out.
Servings and timing
This recipe yields approximately 8 bomb pops.Preparation time: 15 minutesLayer freezing time: 2.5 hoursTotal time: 3 hours (including final freeze)
Variations
Use flavored yogurt for the white layer to add a fruity twist.
Add fresh fruit bits into each layer for extra texture and flavor.
Swap the juice colors for other combinations to match different themes or events.
Use natural food coloring if you prefer more vibrant layers from juices that aren’t as bold.
storage/reheating
Store Bomb Pops in the freezer in their molds or wrapped individually in plastic wrap for up to 2 weeks.These are best enjoyed straight from the freezer and do not require reheating.
FAQs
Can I use different juices?
Yes, any red, white, and blue-colored juices will work. Just make sure each layer has a distinct color and flavor.
Are these healthier than store-bought?
Yes, because they use real juice and yogurt, they have fewer artificial additives and more natural sweetness.
What if I don’t have a popsicle mold?
You can use small paper cups and insert wooden sticks once the second layer begins to freeze.
Can I make these dairy-free?
Yes, use coconut milk or a non-dairy yogurt alternative for the white layer.
How long do they take to freeze completely?
Each layer takes about 45–60 minutes, with a full freeze taking 4+ hours.
Can I make one solid color?
Absolutely, just skip the layering and pour in a single juice blend for a simple popsicle.
Conclusion
Homemade Bomb Pops are a fun, colorful, and refreshing way to celebrate summer. Whether you’re making them for a Fourth of July cookout or just want to enjoy a cool treat with the kids, these layered popsicles are a delicious blast from the past—made even better with fresh, wholesome ingredients.
Print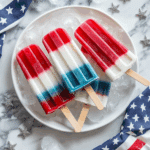
Homemade Bomb Pops
- Prep Time: 10 minutes
- Cook Time: 0 minutes
- Total Time: 5 hours
- Yield: 6 popsicles
- Category: Dessert
- Method: Freezing
- Cuisine: American
- Diet: Vegetarian
Description
Refreshing and colorful homemade Bomb Pops made with layers of flavored fruit juice—perfect for hot summer days.
Ingredients
- 1/2 cup lemon-lime soda
- 1/2 cup lemonade
- 1/2 cup cherry juice
- 1/2 cup blue raspberry juice
- 1 tablespoon sugar (optional)
- 1/2 teaspoon lemon juice
Instructions
- In a small bowl, mix the lemon-lime soda, lemonade, lemon juice, and sugar (if using) for the white layer. Pour into popsicle molds to fill 1/3 of each and freeze for about 1 hour or until slightly firm.
- Pour the cherry juice over the white layer to fill the next 1/3 of the mold. Insert popsicle sticks and freeze for another hour.
- Finally, pour the blue raspberry juice into the molds to top them off and freeze until completely solid, about 4 hours or overnight.
- To remove, run warm water over the molds for a few seconds and gently pull out the pops.
Notes
- You can substitute juice flavors with your preferred red, white, and blue options.
- Add a pinch of gelatin to each layer if you prefer a less icy texture.
- Adjust sugar depending on juice sweetness.