Why You’ll Love This Recipe
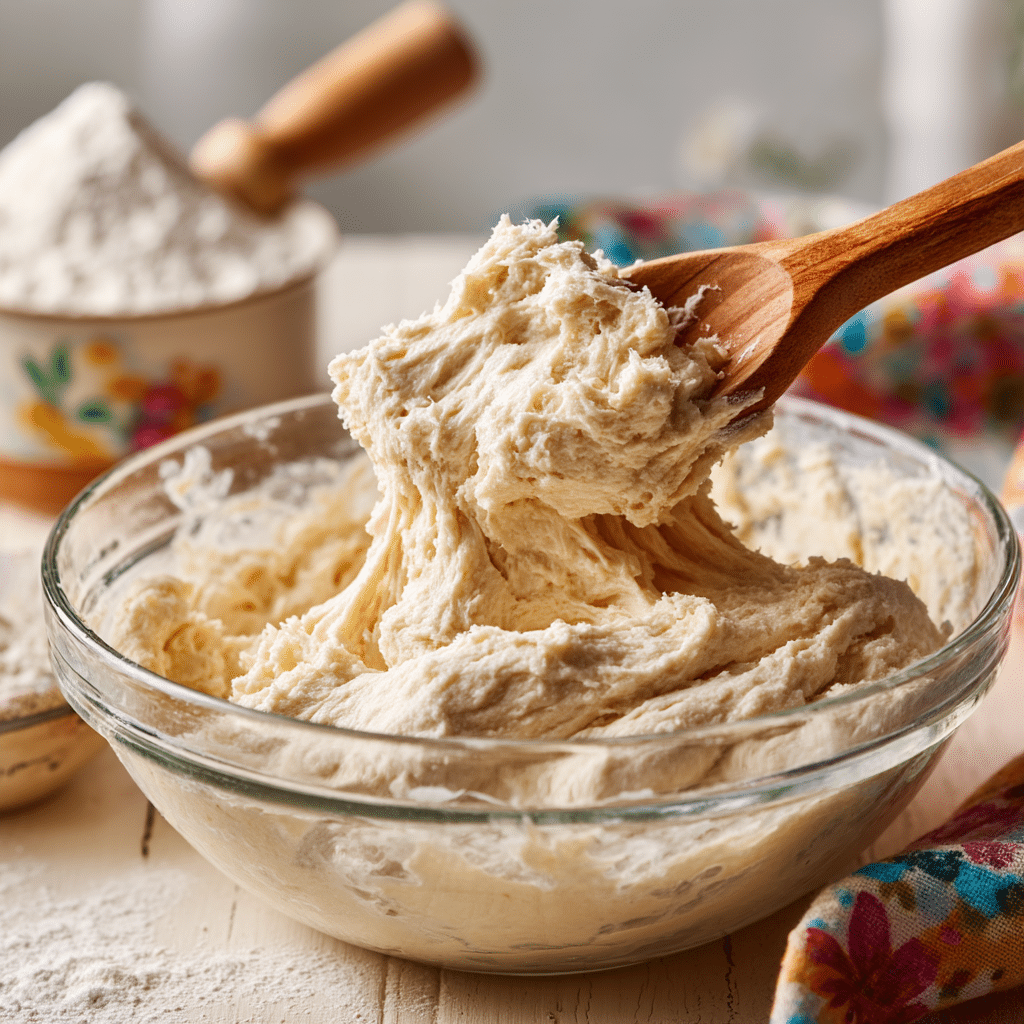
Making your own Sourdough Starter is the first step to baking delicious, naturally-leavened bread at home. With just flour, water, and a bit of time, you can grow a wild yeast culture that gives sourdough its signature tang and chew. It’s simple, rewarding, and a great way to connect with traditional baking.
ingredients

(Tip: You’ll find the full list of ingredients and measurements in the recipe card below.)
unbleached all-purpose or whole wheat flourfiltered or dechlorinated water (room temperature)clean glass jar or containerplastic or wooden spoonkitchen scale (recommended)
directions
Day 1:
In a clean jar, mix ½ cup flour and ¼ cup water. Stir until smooth and no dry bits remain.
Scrape down the sides, cover loosely with a lid or cloth, and leave at room temperature (70–75°F) for 24 hours.
Day 2:
Check for bubbles or light activity. Discard half the starter (about ¼ cup).
Add ½ cup flour and ¼ cup water to the remaining mixture. Stir and cover again. Let sit for another 24 hours.
Day 3–6:
Repeat the feeding process every 24 hours. Discard half, then add fresh flour and water in equal parts.
By Day 4 or 5, you should see more bubbles, a rise in volume, and a slightly tangy smell.
Day 6–7:
Feed twice a day if the starter is very active (morning and evening). It should double in size within 4–6 hours after feeding and smell pleasantly sour.
Once it consistently rises and falls, it’s ready to bake with.
Servings and timing
This recipe yields enough for regular baking with extra to maintain.Preparation time: 5–10 minutes per dayFermentation time: 6–7 daysTotal time: 6–7 days
Variations
Use rye flour for faster fermentation and a deeper flavor.
Try organic flour to encourage a healthier starter.
Use a mix of whole wheat and all-purpose flour for balanced growth.
Add pineapple juice instead of water on Day 1 to jumpstart fermentation.
storage/reheating
Store starter in the refrigerator if not baking daily. Feed once a week to maintain.To reactivate from cold, let it come to room temperature, discard, and feed as usual.Freeze a portion as a backup starter for long-term storage.
FAQs
Why isn’t my starter bubbling?
Make sure your water isn’t chlorinated and your jar is clean. Try using whole wheat or rye flour for more wild yeast.
Do I have to discard every day?
Yes, discarding keeps the pH balanced and the starter healthy by reducing waste build-up.
Can I use tap water?
Only if it’s chlorine-free. Chlorine can inhibit yeast growth.
How do I know it’s ready to bake with?
It should double in size within 4–6 hours after feeding, be bubbly, and smell pleasantly tangy.
Can I bake before Day 7?
Possibly, but waiting ensures a stronger, more reliable starter.
How do I switch flours?
Transition gradually over a few feedings to avoid shocking the culture.
What if my starter has a dark liquid on top?
That’s hooch—just stir it in or pour it off before feeding. It means your starter is hungry.
Can I use metal utensils?
Avoid reactive metals like aluminum. Stainless steel is fine in small contact.
Why does it smell bad?
It may smell funky early on, but it should transition to a sour, yeasty smell. If it smells rotten, discard and restart.
Can I revive a neglected starter?
Yes, with regular feedings it usually bounces back. Mold or pink/orange colors mean you should discard.
Conclusion
Making a Sourdough Starter from scratch is a rewarding process that brings a world of homemade baking within reach. With patience and a little daily care, you’ll create a living culture that can last for years and produce beautifully risen, flavorful bread. Start today and enjoy the magic of wild yeast in your kitchen!
Print
How to Make Sourdough Starter
- Prep Time: 10 minutes per day
- Cook Time: 0 minutes
- Total Time: 7 days
- Yield: 1 sourdough starter (ongoing)
- Category: Basics
- Method: Fermentation
- Cuisine: Global
- Diet: Vegan
Description
Learn how to make a sourdough starter from scratch using just flour and water. This wild yeast culture is the foundation for delicious, tangy sourdough bread and can be maintained indefinitely with regular feedings.
Ingredients
- Unbleached all-purpose or whole wheat flour
- Filtered or dechlorinated water (room temperature)
Instructions
- Day 1: In a clean glass jar or bowl, mix 1/2 cup (60g) flour with 1/4 cup (60g) water until no dry flour remains. Cover loosely with a lid or cloth. Let sit at room temperature (70-75°F / 21-24°C).
- Day 2: You may see a few bubbles. Stir the mixture, discard half, and feed with 1/2 cup flour and 1/4 cup water. Mix well, cover, and rest.
- Days 3-5: Continue daily feedings by discarding half of the starter and feeding with equal parts flour and water by weight (60g each). Bubbles, rising activity, and a sour aroma should begin developing.
- Day 6 or 7: Your starter should double in size within 4-6 hours of feeding and have a tangy, yeasty smell. At this point, it’s ready to use for baking.
- Maintain the starter by feeding daily at room temperature or store it in the refrigerator and feed weekly.
Notes
- Use filtered water to avoid chlorine, which can inhibit yeast growth.
- Whole wheat or rye flour can help jumpstart fermentation due to higher nutrient content.
- If storing in the fridge, always let the starter come to room temp and feed before baking.