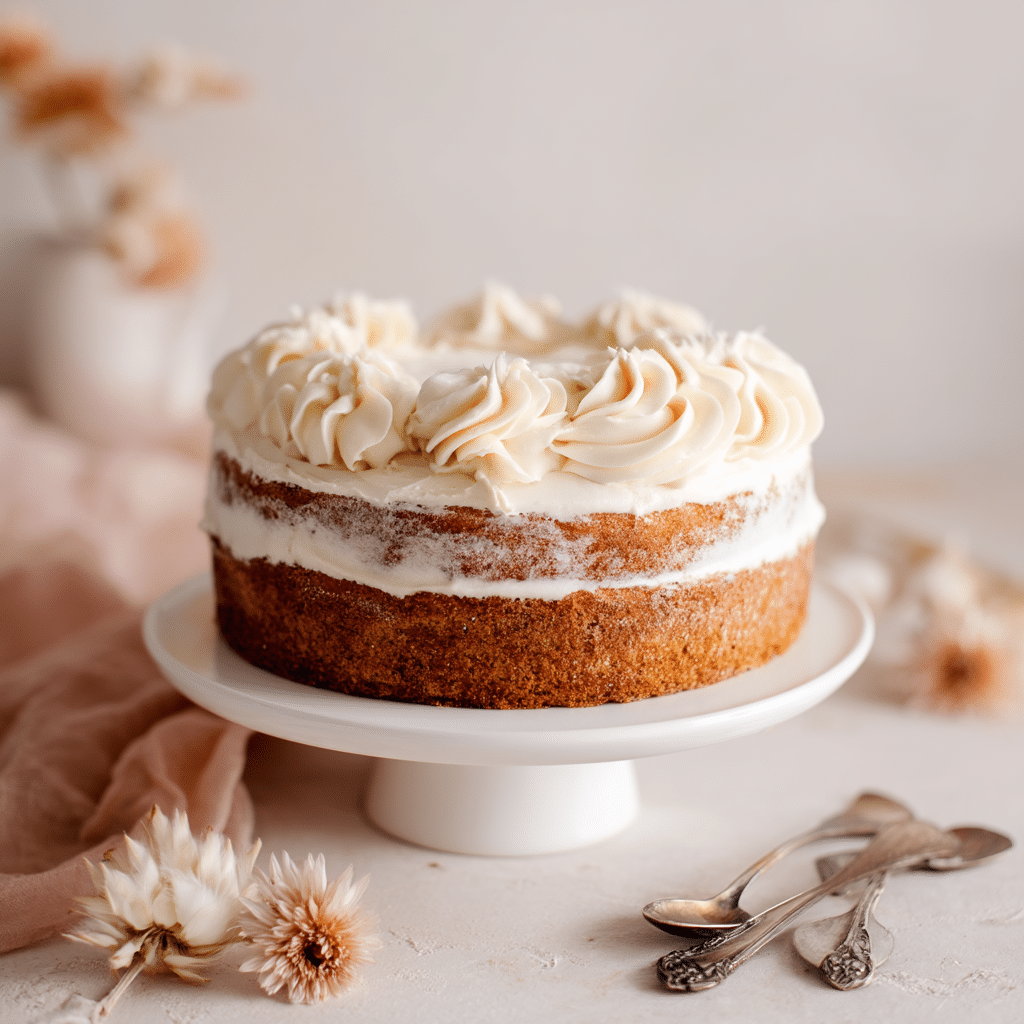
This Red Velvet Cake is the kind of dessert that makes people stop mid-bite and ask, “Where did you get this recipe?” It’s deeply flavorful, incredibly moist, and just the right balance of rich cocoa and tangy buttermilk—all wrapped in the silkiest cream cheese frosting. The vibrant red color makes it a showstopper for any celebration, but it’s easy enough to pull together for a weeknight treat. This is not just any red velvet cake—this is the best red velvet cake.
Why You’ll Love This Recipe
- Unbelievably Moist: Thanks to buttermilk and oil, every bite is tender, fluffy, and melt-in-your-mouth delicious.
- Perfect Flavor Balance: A touch of cocoa, a hint of vanilla, and that signature tangy taste make it absolutely irresistible.
- Velvety Texture: True to its name, the crumb is soft, smooth, and rich—like velvet on your fork.
- Crowd Favorite: Whether it’s a birthday, holiday, or just Tuesday night, this cake always impresses.
Ingredients You’ll Need

Here’s what you need to create this cake magic, and why each one matters:
- All-purpose flour: Gives structure to the cake while keeping the texture soft and tender.
- Granulated sugar: For that perfect sweetness that balances the tanginess.
- Cocoa powder: Just a hint is enough to give depth without turning it into a full-on chocolate cake.
- Buttermilk: This is key! It adds richness and gives the cake its signature tang.
- Baking soda + vinegar: The chemical reaction helps the cake rise beautifully and stay fluffy.
- Eggs: Bind everything together and add richness to the batter.
- Vegetable oil: Keeps the cake extra moist (and stays that way for days!).
- Vanilla extract: Rounds out the flavor with a warm, sweet note.
- Red food coloring: For that bold, iconic red hue. Gel food coloring gives the most vibrant color without watering down the batter.
- Salt: Enhances all the other flavors—don’t skip it.
- Cream cheese: Essential for that tangy-sweet frosting we all love.
- Butter: Adds richness and helps the frosting whip up creamy and smooth.
- Powdered sugar: Sweetens and thickens the frosting without being grainy.
Variations
- Cupcake Style: Pour the batter into cupcake liners and bake for 18–22 minutes for adorable, single-serve versions.
- Gluten-Free: Use a good 1:1 gluten-free flour blend—it works like a charm.
- No Food Coloring? No problem. The cake will still taste amazing without the red; it just won’t have that dramatic flair.
- Frosting Twist: Swap out the cream cheese frosting for a vanilla buttercream or even whipped mascarpone for a lighter take.
How to Make the Best Red Velvet Cake
Step 1: Preheat and Prepare
Preheat your oven to 350°F (175°C). Grease and flour two 9-inch cake pans, or line the bottoms with parchment paper for easy removal.
Step 2: Mix the Dry Ingredients
In a large bowl, whisk together flour, sugar, cocoa powder, baking soda, and salt. This ensures everything is evenly distributed before adding wet ingredients.
Step 3: Combine the Wet Ingredients
In a separate bowl, mix the eggs, buttermilk, oil, vinegar, vanilla, and red food coloring until smooth. The color should be vibrant and uniform.
Step 4: Bring It All Together
Gradually add the dry ingredients to the wet mixture, stirring just until combined. Be careful not to overmix—this keeps the crumb light and airy.
Step 5: Bake to Perfection
Divide the batter evenly between the prepared pans. Bake for 30–35 minutes, or until a toothpick inserted in the center comes out clean. Let the cakes cool completely before frosting.
Step 6: Make the Cream Cheese Frosting
Beat softened butter and cream cheese together until fluffy. Slowly add in powdered sugar and vanilla, and whip until smooth and spreadable.
Step 7: Frost and Assemble
Level the cake layers if needed, then spread a generous layer of frosting between them. Cover the top and sides, smoothing with a spatula or going for rustic swirls—it’s up to you!
Pro Tips for Making the Recipe
- Use Room Temp Ingredients: This helps the batter come together more smoothly and evenly.
- Don’t Skip the Vinegar: It reacts with the baking soda for lift, and contributes to that classic red velvet flavor.
- Level Your Cakes: If the tops dome up during baking, trim them flat for a professional-looking layered cake.
- Chill Before Slicing: For cleaner slices, refrigerate the cake for about 30 minutes before cutting.
How to Serve
This cake is a showstopper on its own, but here are a few ideas to take it to the next level:
Garnishes:
Top with fresh raspberries, a sprinkle of crushed freeze-dried strawberries, or even a drizzle of white chocolate for added elegance.
Pairings:
Serve with a cup of strong coffee or a glass of cold milk to balance the richness. A scoop of vanilla bean ice cream alongside? Yes, please.
Make Ahead and Storage
Storing Leftovers
Wrap leftover slices in plastic wrap or store in an airtight container in the fridge for up to 5 days. The flavor actually gets better by day two!
Freezing
You can freeze unfrosted cake layers tightly wrapped for up to 2 months. Thaw in the fridge overnight before assembling.
Reheating
No need to reheat, but if you like a slightly warm slice, a few seconds in the microwave will soften the frosting beautifully.
FAQs
Can I make this cake without food coloring?
Absolutely. You’ll lose the dramatic red hue, but the flavor and texture will still be outstanding. It becomes more of a “velvet cocoa” cake—still delicious!
Why do I need both baking soda and vinegar?
The vinegar activates the baking soda, helping the cake rise and giving it that light, airy texture. It also adds a subtle tang that defines red velvet.
Can I use butter instead of oil?
Technically yes, but oil is what keeps this cake ultra-moist. Butter will make it denser and slightly drier, though it adds great flavor.
Can I make this cake ahead of time?
Definitely. You can bake the layers a day ahead and frost just before serving. Or freeze the layers and assemble later—it’s very freezer-friendly.
Final Thoughts
If you’ve been searching for the red velvet cake recipe to win over hearts, this is it. It’s luscious, stunning, and packed with rich flavor, all without being overly complicated. So roll up your sleeves, grab your whisk, and treat yourself (and your loved ones) to the best red velvet cake you’ve ever had. Trust me—you’ll be making this one again and again.
Print
The Best Red Velvet Cake Recipe
- Prep Time: 20 minutes
- Cook Time: 35 minutes
- Total Time: 55 minutes
- Yield: 12 servings
- Category: Dessert
- Method: Baking
- Cuisine: American
- Diet: Vegetarian
Description
A rich, moist, and velvety red velvet cake with a hint of cocoa and a tangy cream cheese frosting. Perfect for special occasions or whenever you’re craving a classic Southern dessert.
Ingredients
- 2 1/2 cups all-purpose flour
- 1 1/2 cups granulated sugar
- 1 tsp baking soda
- 1 tsp salt
- 1 tsp cocoa powder
- 1 1/2 cups vegetable oil
- 1 cup buttermilk, room temperature
- 2 large eggs, room temperature
- 2 tbsp red food coloring
- 1 tsp vanilla extract
- 1 tsp white distilled vinegar
- For the cream cheese frosting:
- 16 oz cream cheese, softened
- 1/2 cup unsalted butter, softened
- 4 cups powdered sugar
- 1 tsp vanilla extract
Instructions
- Preheat the oven to 350°F (175°C). Grease and flour two 9-inch round cake pans.
- In a medium bowl, sift together the flour, sugar, baking soda, salt, and cocoa powder.
- In a large bowl, whisk together the oil, buttermilk, eggs, food coloring, vanilla, and vinegar.
- Add the dry ingredients to the wet ingredients in batches, mixing until just combined.
- Divide the batter evenly between the prepared pans and smooth the tops.
- Bake for 30-35 minutes, or until a toothpick inserted in the center comes out clean.
- Let the cakes cool in the pans for 10 minutes, then turn out onto a wire rack to cool completely.
- For the frosting, beat cream cheese and butter together until smooth and fluffy.
- Gradually add powdered sugar, then vanilla, and beat until light and creamy.
- Once cakes are completely cool, frost between layers, on top, and around the sides.
Notes
- Make sure all ingredients are at room temperature for best results.
- You can make the cake layers a day ahead and refrigerate them.
- Use gel food coloring for a more vibrant red hue.